
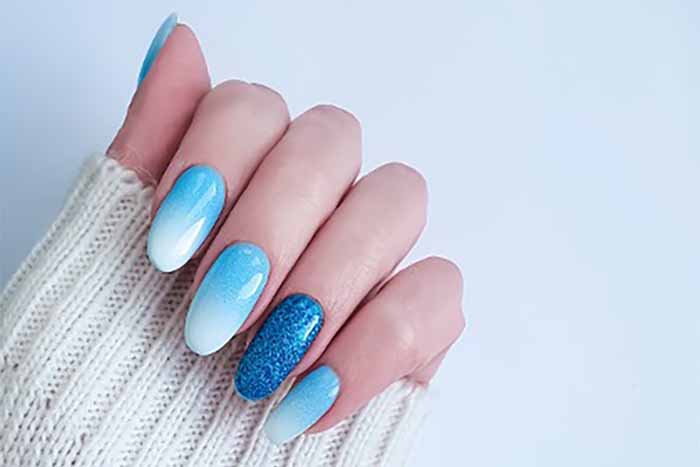
I remember the first time I tried a gel manicure. I was intrigued by the promise of two weeks of chip-free, glossy nails. My first experience was a revelation—no smudging, no drying time, just instant, perfect shine. But as I started experimenting with different products and techniques, I quickly realized there was more to gel nails than I initially thought. Here is everything I have learned about the different types of gel, the essential tools, how to apply them correctly, how long they last, and the important safety considerations.
The Different Types of Gel Nails
Not all gels are the same. Understanding the different types is the first step to choosing the right system for your needs.
Hard gel. This is a rigid, durable gel that cannot be soaked off with acetone. It must be filed off. Hard gel is used for extensions, sculpting, and creating strong, durable enhancements. It is ideal for clients who want maximum strength and length and who commit to professional removal. Once cured, hard gel is extremely resilient and maintains its shape without bending.
Soft gel (soak-off gel). This is the most common type used for gel polish manicures. It is more flexible than hard gel and can be removed by soaking in acetone. Soft gel is used over natural nails to add colour, shine, and protection. It is the go-to for DIY enthusiasts and salon clients who want a long-lasting, glossy finish that is easy to remove.
Builder gel. This is a thicker gel used to add structure and strength to natural nails or to create extensions. It is thicker than base or colour gels, making it ideal for building an apex, correcting nail shapes, and reinforcing weak or damaged nails. Builder gel can be soak-off or hard, depending on the brand. It is often used for overlays on short or weak nails to help them grow.
Polygel. A hybrid between acrylic and gel. Polygel is a thick, putty-like material that combines the strength of acrylic with the flexibility of gel. It cures under a lamp and is easier to shape than traditional builder gel. It is ideal for beginners and professionals who want a strong, lightweight, odor-free alternative to acrylic.
Essential Gel Manicure Tools
To achieve professional results at home, you need the right tools. Skipping any of these steps can compromise the longevity of your manicure.
UV/LED lamp. This is non-negotiable. Gel polish will not dry without it. LED lamps cure faster (30-60 seconds) and their bulbs last for years. UV lamps are slower (2 minutes) but compatible with a broader range of gels. A 36W-48W lamp is a reliable choice.
Gel base coat. Creates adhesion and prevents staining.
Gel colour polish. Choose reputable brands—cheap gels often have poor pigmentation, cure unevenly, and can cause allergic reactions.
Gel top coat. Seals everything and provides high-gloss shine.
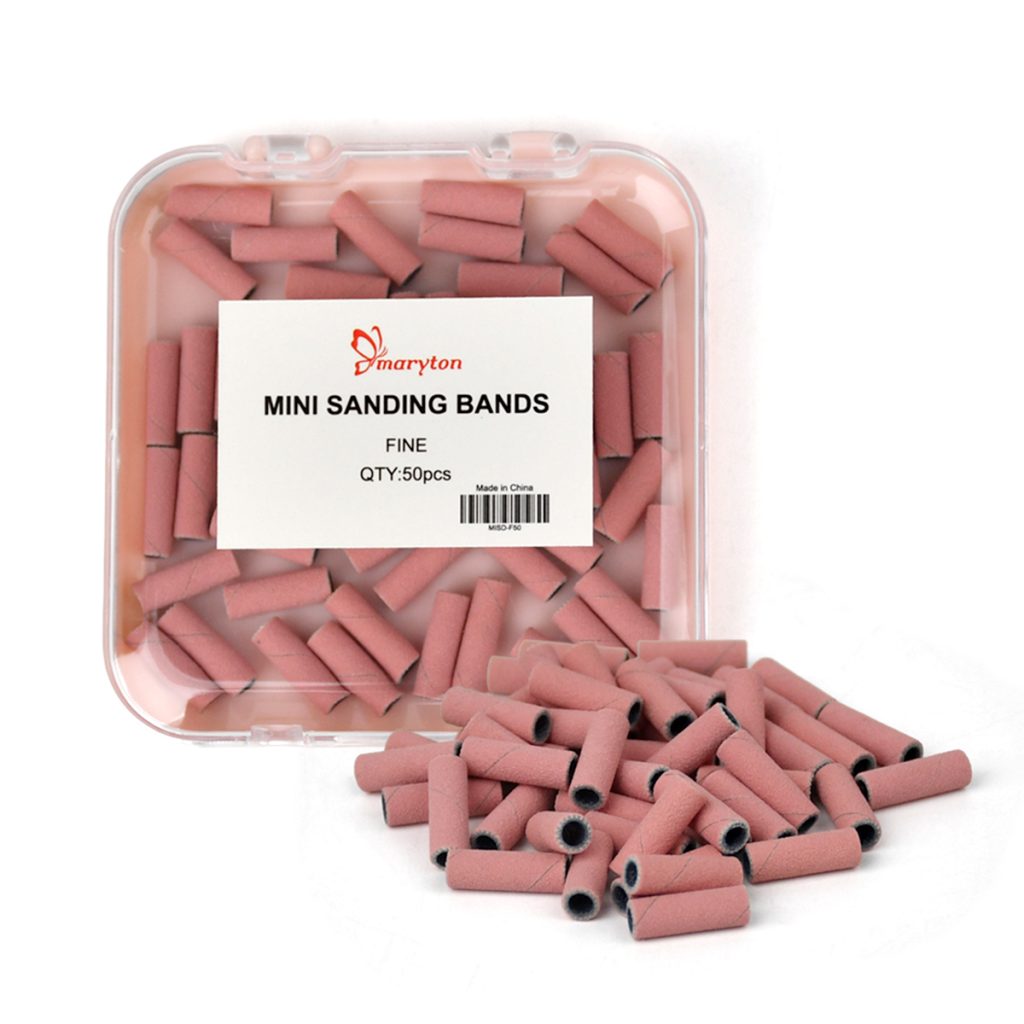
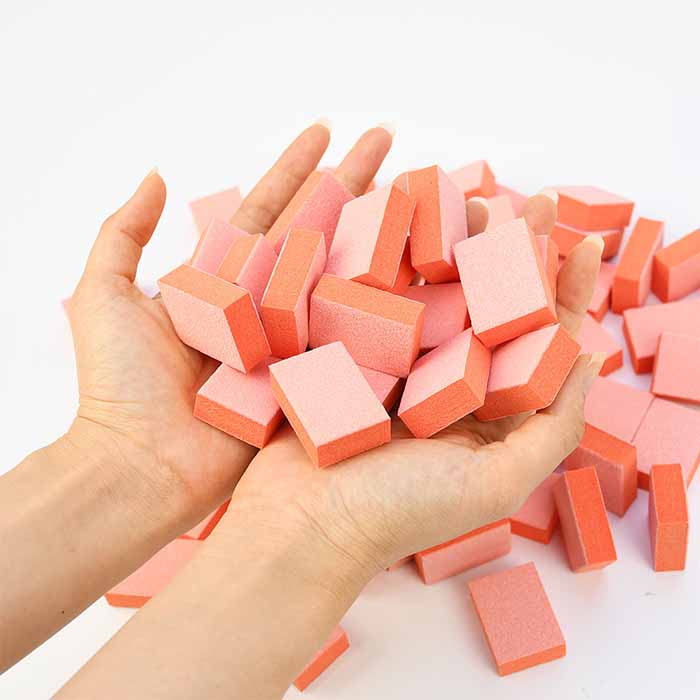
Nail file and buffer. For shaping and gently removing shine.
Cuticle pusher and nippers. For prepping the nail bed.
Lint-free wipes and 91%+ isopropyl alcohol. For cleansing and removing the sticky inhibition layer.
Nail dehydrator or rubbing alcohol. For removing oils before application.
Cuticle oil. For post-manicure hydration.
Optional: Builder gel, primer for extra adhesion, and a fine brush for cuticle cleanup.
How to Apply Gel Nails Correctly
Proper application is the key to a long-lasting gel manicure. Skipping steps or taking shortcuts leads to lifting, peeling, and damage.
Step 1: Prep your nails thoroughly. Remove old polish. Shape your nails and gently push back cuticles. Lightly buff the nail surface to remove shine—this creates a rough texture for the gel to grip. Wipe each nail with a dehydrator or rubbing alcohol to remove oils and dust. After this, do not touch your nails.
Step 2: Apply base coat. Apply a thin, even layer of base coat, being careful to avoid the cuticles and sidewalls. Cap the free edge—run the brush along the nail tip—to seal it. Cure under your lamp for the manufacturer’s recommended time.
Step 3: Apply the first colour coat. Apply a thin, even layer of gel colour. Cap the free edge. Cure fully. Thin layers are essential—thick layers trap air, cure unevenly, and peel faster.
Step 4: Apply the second colour coat. Apply a second thin layer and cure. For sheer colours, a third layer may be needed, but two thin layers are usually sufficient for opacity.
Step 5: Apply top coat. Apply a thin layer of gel top coat, cap the free edge, and cure fully. After curing, some top coats leave a sticky inhibition layer. Wipe it away with a lint-free wipe and alcohol to reveal the glossy finish.
Step 6: Hydrate. Apply cuticle oil to nourish the skin around your nails.
How Long Does Gel Polish Last?
A properly applied gel manicure lasts 2-3 weeks. Factors that affect longevity include proper nail preparation, thin application, capping the free edge, and post-application care (wearing gloves for wet work, avoiding using nails as tools). Some people get 4 weeks of wear; others, especially those with naturally oily nail beds, may only get 1-2 weeks. The average is 2-3 weeks.
Does Gel Polish Damage Natural Nails?
This is the most common question—and the answer is nuanced. Gel polish itself is not inherently damaging. The damage occurs during application and removal.
The damage usually comes from: Aggressive filing or buffing of the natural nail plate during prep, which thins the nail. Improper removal—peeling or scraping off the gel—which pulls off layers of the natural nail. Over-curing or under-curing, which can cause the gel to adhere too tightly or not enough. And allergic reactions to acrylates, especially with repeated exposure.
When applied and removed correctly, gel polish is safe. It can even protect natural nails by adding a layer of strength.
To prevent damage: Never let a technician aggressively file your natural nail. Always use the acetone soak method for removal—never peel. Take breaks between gel applications to let nails recover. Use cuticle oil daily to keep nails hydrated and flexible.
Can You Mix Different Brands of Gel Products?
This is a controversial topic. In general, it is not recommended to mix different brands of gel products. Each brand formulates its base, colour, and top coats to work together with specific photoinitiators and curing times. Mixing brands can lead to under-curing, poor adhesion, or even allergic reactions. For the best and safest results, stick to one brand for base, colour, and top coat. If you must mix, do so only after testing compatibility and ensuring that the curing times match.
The Bottom Line
Gel nails offer a beautiful, long-lasting alternative to traditional polish. With the right tools, proper technique, and a little patience, you can achieve salon-quality results at home. Choose the right gel type for your needs—hard gel for strength, soft gel for easy removal, builder gel for structure, or polygel for a hybrid option. Prep thoroughly, apply thin layers, cap the free edge, and always remove gently. With consistent care, your gel manicures will stay flawless for weeks, and your natural nails will stay healthy and strong.
Read also: The things you need to know about hand and nail care

One thought on “The Complete Guide to Gel Nails: Types, Tools, Application, and Safety”